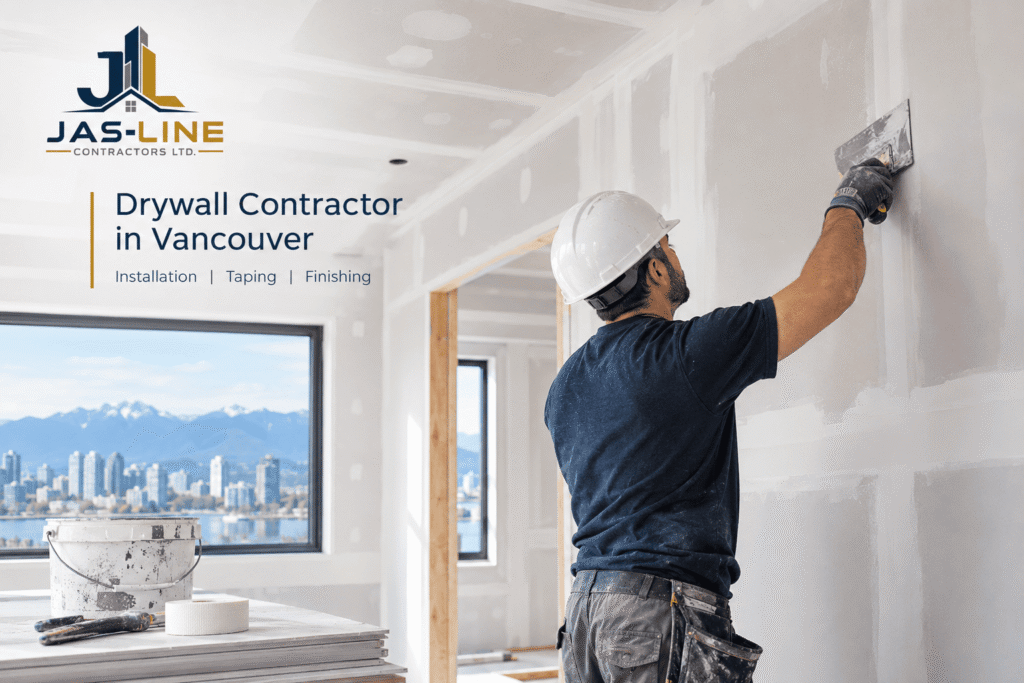
Drywall is one of the last major interior surfaces to go in during many construction and renovation projects, but the quality of the work can have a noticeable effect on the finished space. Once framing, insulation, electrical and mechanical work are ready, gypsum board creates the surface that will eventually be painted or otherwise finished.
A good result depends on more than getting the sheets onto the wall. Drywall installation, taping, mudding, sanding and finishing all need to be handled properly if the finished surface is expected to look straight and consistent.
For homeowners, builders and property managers, working with an experienced drywall contractor in Vancouver can make it easier to coordinate these stages and establish the right finish for the project.
What does a Drywall Contractor in Vancouver Do?
A drywall contractor works with gypsum board on interior walls and ceilings, from initial installation through finishing and, where required, repairs.
Depending on the project, drywall installation services may include:
- Planning the drywall layout
- Measuring and cutting gypsum board
- Installing boards over the appropriate framing or supports
- Fastening the boards correctly
- Treating joints and corners
- Installing corner bead and other accessories
- Drywall taping
- Applying joint compound or drywall mud
- Sanding and refining the finished surface
- Repairing damaged drywall
- Preparing surfaces for primer and paint
The exact scope varies from one project to another. A new-build project may involve complete wall and ceiling installation, while a renovation may involve a combination of new drywall, repairs and finishing.
Drywall Installation Vancouver: Where the Process Starts
Good finishing starts with good installation.
Before the boards are installed, the framing should be checked for adequate support and alignment. Work that needs to remain behind the wall—such as electrical, plumbing and insulation—should also be completed or sufficiently coordinated before the drywall closes the assembly.
The boards are then measured, cut and positioned according to the wall or ceiling layout. Joint locations should be planned rather than placed randomly. Keeping unnecessary joints to a minimum can make the finishing process more manageable and can help reduce potential problem areas.
BC trade guidance specifically notes that drywall should have adequate support, be fully fastened and be installed without surface defects before taping and filling begin.
Selecting the Right Gypsum Board
Not every drywall product is intended for every application.
Depending on the assembly and project requirements, a specification may call for:
- Regular gypsum wallboard for general interior applications
- Moisture-resistant or moisture-tolerant products where appropriate
- Type X gypsum board for specified fire-resistance-rated assemblies
- Sag-resistant board for certain ceiling applications
- Specialised products for acoustic, impact or other performance requirements
The choice should be based on the wall or ceiling assembly, location, design requirements and applicable specifications—not simply on board price.
Where a fire-resistance rating is required, the rating applies to the specified assembly rather than simply to a piece of drywall in isolation. The applicable requirements should therefore be checked against the project documents and the current BC Building Code.
Why Proper Drywall Installation Matters
Small installation problems can become much more visible once the walls are painted.
Common issues include:
- Uneven joints
- Poorly supported board
- Damaged or broken edges
- Visible fastener heads
- Bulging areas
- Cracked joints
- Uneven corners
- Excessive compound buildup
- Surface imperfections visible under certain lighting
The finishing compound cannot completely compensate for poor board installation. If the sheets are not properly supported, positioned or fastened, achieving a consistent finished surface becomes more difficult.
This is particularly noticeable on large walls and ceilings where light can reveal small variations in the surface.
Drywall Taping Vancouver: What Happens After Installation?
Once the drywall is installed and the surface is ready, the next stage is drywall taping and finishing.
Tape is applied over the joints between drywall sheets and embedded with joint compound. Additional compound is then applied and feathered beyond the joint so the transition becomes less noticeable.
A typical sequence involves:
- Inspecting the installed drywall
- Preparing joints and fastener areas
- Applying joint compound
- Embedding joint tape
- Applying additional coats
- Feathering the edges
- Allowing the compound to dry as required
- Sanding and inspecting the surface
The exact number of applications depends on the product, joint condition and specified finish.
Drywall taping and finishing is not simply a cosmetic step. Properly treated joints are part of creating a continuous finished surface and reducing the chance of visible seams.
What is Drywall Mudding?
Drywall mudding is the common term for applying joint compound to drywall joints, fasteners, corners and other areas that need to be blended into the surrounding surface.
The goal is to build up and feather the compound gradually rather than leaving a thick ridge over the joint.
After drying, the surface is sanded or otherwise refined before the next finishing stage. Rushing the process or applying too much compound at once can lead to ridges, depressions and additional sanding.
A good finish usually comes from several controlled applications rather than trying to complete everything in one pass.
Drywall Finishing Vancouver: Understanding Finish Levels
Not every project requires the same level of drywall finishing.
The Gypsum Association’s GA-214 system describes Levels 0 through 5, which are used to communicate the expected level of gypsum-board finish.
Level 3 Drywall Finish
A Level 3 finish may be specified where a heavier texture or similar decorative treatment will be applied.
It is not generally intended to provide the same smooth appearance expected from a demanding painted finish.
Level 4 Drywall Finish
A Level 4 drywall finish is commonly used where a smooth finished surface is required for many standard painted interior applications.
The joints, corners and fastener areas receive additional finishing so that they blend into the surrounding board.
The final appearance can still depend on factors such as the paint, sheen, lighting and surface conditions, so the required finish should be agreed upon before the work starts.
Level 5 Drywall Finish
A Level 5 drywall finish goes beyond Level 4 by adding a skim coat across the surface.
This approach may be specified when a more uniform appearance is required or when lighting and the selected decorative finish could make minor surface variations more noticeable.
It is not necessary for every room. The appropriate finish level should be selected according to the project’s specifications and the expected final appearance.
Drywall Finishing and Building Conditions
The condition of the building can affect the finishing process.
Joint compound and related materials need suitable conditions to dry properly. BC trade guidance addresses building conditions and temperature requirements before and during taping and filling.
For that reason, drywall finishing should be coordinated with the overall construction schedule rather than treated as an isolated task.
If the building is not ready for finishing, allowing additional drying time may be necessary. The specific requirements should be confirmed for the materials and assembly being used.
Residential Drywall Vancouver: What to Consider
Residential drywall projects can range from a single-room renovation to a complete new-home interior.
Typical work may include:
- New interior walls
- Basement renovations
- Home additions
- Kitchen and bathroom renovations
- Bedroom and living-area upgrades
- Ceiling work
- Interior wall modifications
- Drywall repairs
For a residential project, the final appearance is often a major consideration. Wall surfaces may be viewed from close range, and lighting can reveal imperfections that were less noticeable before painting.
Good coordination with electricians, plumbers, insulation installers, painters and other trades also helps keep the project moving in the right order.
Commercial Drywall Vancouver: What Changes?
The basic principles of drywall installation remain the same, but commercial projects can involve more detailed coordination.
Commercial drywall projects may include:
- Office interiors
- Retail spaces
- Tenant improvements
- Multi-family buildings
- Institutional interiors
- Interior partitions
- Ceiling systems
- Acoustic assemblies
- Fire-resistance-rated assemblies
Commercial work may need to follow architectural drawings, project specifications and defined assembly requirements. The drywall contractor may also need to coordinate closely with other trades and the project schedule.
For fire-rated, acoustic or other specialised assemblies, the specified system should be followed rather than substituting individual materials without checking the requirements.
Drywall Repair Vancouver: When Existing Walls Need Attention
Not every drywall project starts with a new wall.
A drywall repair service may involve:
- Holes and impact damage
- Cracked joints
- Damaged corners
- Water-damaged sections
- Openings left after electrical or plumbing work
- Areas removed during renovations
- Damaged ceilings
- Poor previous repairs
For water-damaged drywall, the source of moisture should be identified and addressed before the damaged material is replaced. Otherwise, the new repair may be affected by the same underlying problem.
The repair also needs to blend with the surrounding surface. Filling the damaged area is only part of the job; matching the surrounding finish can be just as important to the final appearance.
📞 Call us or Contact Us today.
Common Drywall Problems and What Causes Them
Even a completed drywall surface can develop visible problems. Understanding the common causes can help when assessing existing walls.
Visible Joint Lines
Joint lines may remain visible when the compound has not been feathered sufficiently or when the underlying board installation creates an uneven transition.
Strong directional lighting can also make surface variations easier to see.
Cracking
Cracks can have different causes, including movement, framing conditions and joint-treatment issues.
Simply applying more compound over an existing crack may not address the underlying cause. The affected area should be assessed before deciding on the repair.
Screw Pops
Small raised areas around fasteners can become visible after finishing. Fastener movement and other installation conditions can contribute to this type of defect.
Uneven Corners
Corners need to be properly formed and finished so that the finished lines remain straight and consistent.
Excessive Sanding
Applying too much joint compound can create unnecessary sanding work. Building up the finish gradually generally gives the installer more control over the final surface.
How Long Does Drywall Installation Take?
There is no reliable single timeframe for every drywall project.
The schedule can depend on:
- Total wall and ceiling area
- Number of rooms
- Ceiling height
- Layout complexity
- Number of board layers
- Required finish level
- Amount of cutting and detailing
- Drying conditions
- Site access
- Coordination with other trades
The installation itself may be completed before the finishing work is finished. Taping, multiple applications of compound, drying, sanding and inspection all take time.
For this reason, a realistic schedule should be based on the actual scope rather than a standard number of days quoted without seeing the project.
How to Choose a Drywall Contractor in Vancouver
When comparing a drywall contractor in Vancouver, look beyond the basic price and ask exactly what the quotation includes.
Some useful questions are:
- Does the quote include board installation?
- Is drywall taping included?
- How many finishing coats are included?
- What drywall finish level is specified?
- Are corner beads included?
- Is sanding included?
- Will the surface be ready for primer and paint?
- Are drywall repairs included?
- Does the contractor handle both residential and commercial work?
- How will the work be coordinated with other trades?
- Are drawings or project specifications being followed?
It is also worth making sure that terms such as “finished drywall,” “paint-ready” and “Level 4” have the same meaning for everyone involved.
A clear scope at the beginning can prevent confusion when the project reaches the finishing stage.
📞 Call us or Contact Us today.
Frequently asked questions about Drywall
1. What does a drywall contractor do?
A drywall contractor can install, tape, mud, finish and repair gypsum board on interior walls and ceilings. The exact scope depends on the project.
2. What is the difference between drywall installation and finishing?
Drywall installation involves measuring, cutting and fastening the boards to the appropriate supports. Finishing includes treating joints and fasteners, applying joint compound, sanding and preparing the surface for its specified final finish.
3. What is drywall taping?
Drywall taping is the process of embedding tape over joints between drywall sheets and applying joint compound to create a continuous finished surface.
4. What is the difference between Level 4 and Level 5 drywall finish?
Level 4 generally provides a smooth finish suitable for many standard painted applications. Level 5 adds a skim coat over the surface and may be specified when a more uniform appearance is required.
5. Can a drywall contractor repair existing drywall?
Yes. Drywall contractors can repair holes, damaged corners, cracks, damaged ceilings and sections affected by renovation work. The appropriate repair depends on the type and extent of the damage.
6. What should I provide when requesting a drywall quote?
Useful information includes the project location, approximate size of the area, whether the work is new installation or repair, available drawings or photographs, and the desired finish. This gives the contractor a better understanding of the scope before preparing an estimate.
Final Thoughts
Drywall may look straightforward once it has been painted, but the finished surface depends on the work carried out underneath that paint.
Proper gypsum board installation, careful taping, controlled mudding, adequate drying and the right finishing level all contribute to the final result. The needs of a residential renovation can also be quite different from those of a commercial interior or a project requiring a specialised assembly.
If you are looking for a drywall contractor in Vancouver for drywall installation, taping, finishing, repairs or related interior work, start by defining the scope and finish requirements clearly.
Jas-Line Contractors Ltd. can discuss the requirements of your project and help determine the drywall work needed for the space.
📞 Call us or Contact Us today.