
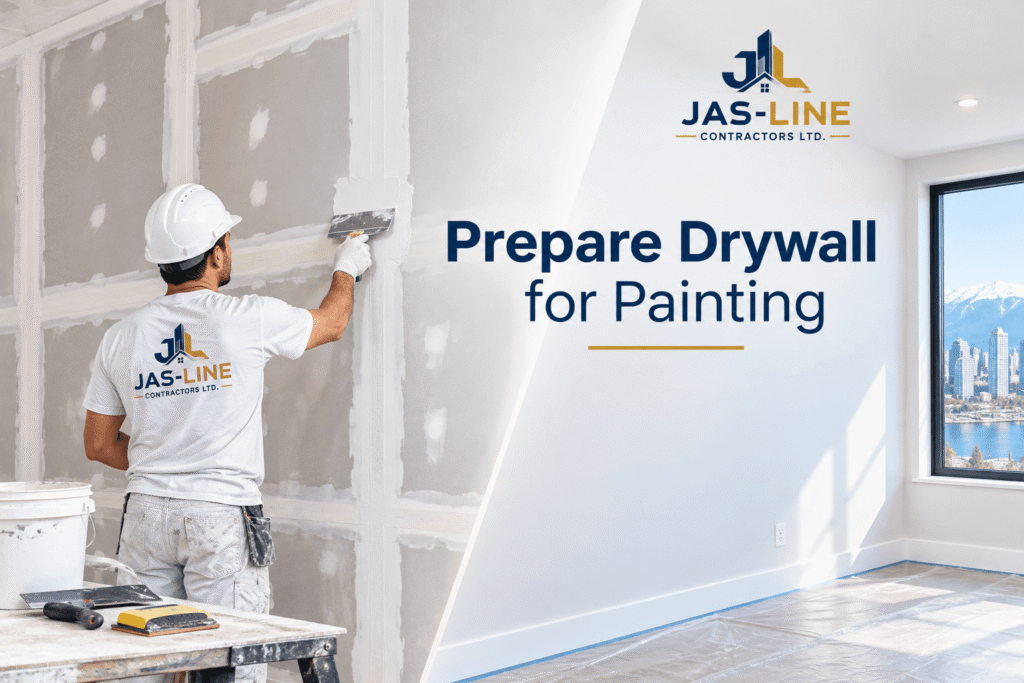
A smooth, professional paint finish starts long before the first coat of paint is applied. If you are working with new drywall, proper preparation is essential for achieving clean, even, and long-lasting results. Simply applying paint over unfinished or poorly prepared drywall can leave visible seams, dents, sanding marks, uneven texture, and inconsistent paint absorption.
Whether you are completing a residential renovation or a commercial construction project, understanding how to prepare drywall for painting can make a significant difference in the final appearance of your walls.
At Jas-Line Contractors Ltd., we understand that quality drywall finishing is an important part of creating a professional interior. From taping and joint compound application to sanding and surface preparation, every step contributes to a better paint-ready surface.
📞 Call us or Contact Us today.
Why Is Drywall Preparation Important Before Painting?
New drywall is not immediately ready for paint. The surface typically contains drywall panels, taped joints, screws or fasteners, and areas covered with joint compound. These materials can absorb paint differently if they are not properly prepared and primed.
Proper drywall preparation for painting helps:
- Create a smoother and more uniform surface
- Hide drywall seams and fasteners
- Reduce visible imperfections
- Improve paint adhesion
- Prevent uneven colour and sheen
- Create a more professional-looking finish
- Help the finished paint last longer
A professional drywall finish also becomes especially important in rooms with strong natural or artificial lighting, where imperfections can become much more noticeable. Higher finish levels may be appropriate when a very smooth painted surface is required.
How to Prepare New Drywall for Painting
If you are wondering how to prepare new drywall for painting, the process generally involves several important stages. Each step should be completed carefully before moving on to the next one.
1. Inspect the Drywall Surface
Before beginning the preparation process, inspect the entire wall or ceiling.
Look for:
- Visible drywall seams
- Nail or screw holes
- Dents and scratches
- Raised joint compound
- Uneven corners
- Cracks
- Tool marks
- Damaged drywall paper
- Areas that still need additional compound
The drywall should be securely installed, and all joints should be properly taped and filled before painting.
This inspection helps identify problems before sanding and priming begin.
2. Apply Joint Compound to Seams and Fasteners
One of the most important parts of drywall finishing is properly treating joints and fasteners.
Joint compound is applied over taped drywall seams, screw heads, corners, and other areas that require filling. Multiple coats may be necessary to create a smooth transition between the compound and the surrounding drywall.
The objective is not simply to cover the joint. The compound should be feathered outward so that the finished area blends smoothly into the wall.
A poorly finished joint can remain visible even after several coats of paint.
3. Allow the Joint Compound to Dry
Before you sand drywall before painting, make sure the joint compound has dried completely.
Trying to sand or paint over partially dried compound can create additional surface problems and may affect the final finish.
Drying time depends on the product, application thickness, temperature, humidity, and ventilation. Always follow the manufacturer’s recommendations.
4. Sand the Drywall Smooth
Once the compound is completely dry, the next stage is drywall sanding.
The goal is to remove ridges, high spots, tool marks, and uneven areas while blending the compound into the surrounding drywall.
Use appropriate sanding equipment and avoid excessive pressure. Over-sanding can damage the drywall paper and create a rough or fuzzy surface.
For a professional smooth drywall finish, inspect the surface from different angles and under the lighting conditions that will exist in the finished room.
5. Check for Imperfections
After sanding, carefully inspect the wall again.
Some imperfections can be difficult to see while the drywall is still unfinished. Look for:
- Small pinholes
- Scratches
- Remaining ridges
- Visible seams
- Screw depressions
- Uneven patches
- Surface texture differences
If you find imperfections, apply a small amount of joint compound, allow it to dry, and sand the area again.
This extra inspection step can make a noticeable difference in the final painted appearance.
6. Remove Drywall Dust
After sanding drywall, the surface will contain fine dust. This dust needs to be removed before applying primer.
Vacuuming with an appropriate brush attachment followed by careful wiping can help remove remaining dust. The surface should be clean and dry before priming.
Do not rush this stage. Dust left on the wall can interfere with primer and paint adhesion. Professional surface preparation guidance also recommends sanding smooth, removing dust, and then priming new drywall.
7. Apply Drywall Primer
One of the most important steps in preparing drywall for painting is applying the correct primer.
Fresh drywall contains porous paper and areas of joint compound. These surfaces can absorb paint at different rates. A dedicated drywall primer helps create a more uniform surface for the finish coats.
If you prime new drywall properly, you can create a better foundation for the final paint colour and sheen.
Skipping primer and applying finish paint directly to new drywall can result in an uneven appearance because the drywall paper and joint compound do not absorb the coating in the same way.
Always select a primer compatible with the drywall, joint compound, and intended finish paint, and follow the product manufacturer’s instructions.
8. Inspect the Primed Surface
Priming can actually make certain imperfections easier to notice.
After the primer dries, inspect the wall again. Look for:
- Visible seams
- Small dents
- Scratches
- Uneven patches
- Sanding marks
- Differences in surface texture
If necessary, make minor repairs, sand the affected areas, remove dust, and spot-prime according to the coating manufacturer’s recommendations.
This quality-control step helps ensure that the surface is genuinely ready for the final paint.
9. Apply the Finish Paint
Once the drywall has been properly finished, sanded, cleaned, and primed, it is ready for the finish coats.
The number of paint coats can depend on the product, colour, sheen, lighting conditions, and desired appearance. Follow the paint manufacturer’s application instructions rather than assuming that every project requires exactly the same number of coats.
For a high-quality result, maintain consistent application and allow each coat to dry according to the manufacturer’s recommendations.
📞 Call us or Contact Us today.
What Drywall Finish Level Is Best for Painting?
Choosing the appropriate drywall finish level is another important consideration.
Drywall finish levels range from Level 0 to Level 5, with each level representing a different degree of finishing. For many standard painted interior walls, Level 4 is commonly used, while Level 5 may be considered when a very uniform surface is required, particularly with higher-sheen finishes or challenging lighting conditions.
Level 4 Drywall Finish
A Level 4 drywall finish is commonly suitable for many interior applications using flat or lower-sheen paints.
It provides a smooth surface with properly treated joints, corners, and fasteners.
Level 5 Drywall Finish
A Level 5 drywall finish adds a skim coat across the entire surface. It can help minimize variations in surface texture and is often recommended for areas where strong lighting or higher-sheen paint could make imperfections more noticeable.
The right finish level depends on the room, lighting, paint type, and appearance you want to achieve.
Common Mistakes When Preparing Drywall for Painting
Avoiding common preparation mistakes can save time and prevent costly rework.
Painting Without Primer
One of the most common mistakes is applying finish paint directly to bare new drywall. Using an appropriate drywall primer helps create a more consistent base.
Skipping the Final Sanding
Even small ridges or scratches can become visible after painting. Proper drywall sanding helps create a smoother surface.
Leaving Dust on the Wall
Sanding dust should be removed before priming and painting. A dusty surface can interfere with proper coating performance.
Applying Too Much Joint Compound
Excessive compound can create high spots that require additional sanding. Professional application and feathering help keep the surface level.
Ignoring Lighting Conditions
A wall may appear smooth under normal lighting but show imperfections when exposed to strong side lighting. Inspecting the wall under realistic lighting conditions is an important part of achieving a quality drywall finish.
Should You Hire a Professional for Drywall Preparation?
While basic drywall preparation can look simple, achieving a consistently smooth surface requires experience, proper tools, and attention to detail.
Professional drywall contractors understand how to handle:
- Drywall taping
- Joint compound application
- Drywall sanding
- Drywall repairs
- Surface preparation
- Drywall finishing
- Primer preparation
- Level 4 and Level 5 finishes
For large renovations, commercial projects, or areas where appearance is especially important, professional drywall finishing services can help reduce imperfections and create a more consistent surface for painting.
Final Thoughts
Learning how to prepare drywall for painting is an important step toward achieving smooth, professional-looking walls. The process should not be rushed. Proper taping, joint compound application, sanding, inspection, dust removal, and drywall primer application all contribute to the final result.
If you are planning a renovation or new construction project in Vancouver and need professional drywall finishing services, Jas-Line Contractors Ltd. can help prepare your walls for a clean and polished finish.
A quality paint job starts with a quality surface—and proper drywall preparation for painting is where that surface begins.
Frequently Asked Questions
Do I need to prime new drywall before painting?
Yes. New drywall and joint compound are porous and can absorb paint unevenly. Applying a suitable drywall primer before the finish coats helps create a more uniform surface.
How smooth should drywall be before painting?
The drywall should be properly finished, free from visible ridges, scratches, excessive tool marks, and other imperfections. The appropriate drywall finish level depends on the paint, lighting, and desired appearance.
Should I sand drywall before painting?
Yes. Sanding drywall before painting helps smooth joint compound and remove ridges and tool marks. After sanding, the dust should be thoroughly removed before primer is applied.
What happens if you paint directly on new drywall?
Painting directly over new drywall can produce an uneven appearance because the drywall paper and joint compound absorb paint differently. Proper priming helps create a more consistent base.
How many coats of primer do I need on new drywall?
The number of primer coats depends on the primer product, drywall condition, surface porosity, and manufacturer’s instructions. A complete, even primer coat is commonly used as part of the preparation process, followed by inspection and any necessary corrections.
What is the best drywall finish for painted walls?
For many standard painted walls, Level 4 drywall finish is commonly appropriate. Level 5 drywall finish may be preferable where strong lighting, dark colours, or higher-sheen paints could highlight surface imperfections.
📞 Call us or Contact Us today.